Ok, ok, ok. I know that I said I would write a blog post about my Life Book lessons every week. But life got in the way and I only made it about half way through with the blog posts. My husband and I run a vinyl decal/banner business called Stephen Edward Graphics.
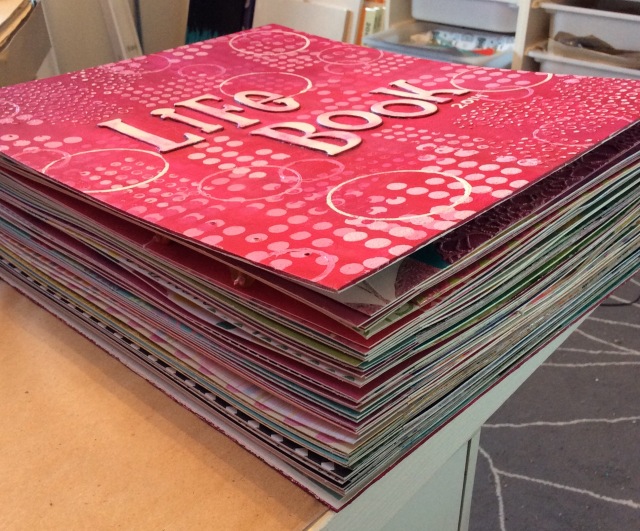
Our business really took off and we’ve been scrambling to just keep up with all the orders. So I didn’t have time to write the blog posts, but I did continue to do the lessons. At the very end of the course we are supposed to take all the pages we made during the year and bind them into a book. A Life Book. And that’s exactly what I did. We were given several ways to do it, but ultimately I decided to go with a binding method I saw on YouTube by Sea Lemon.
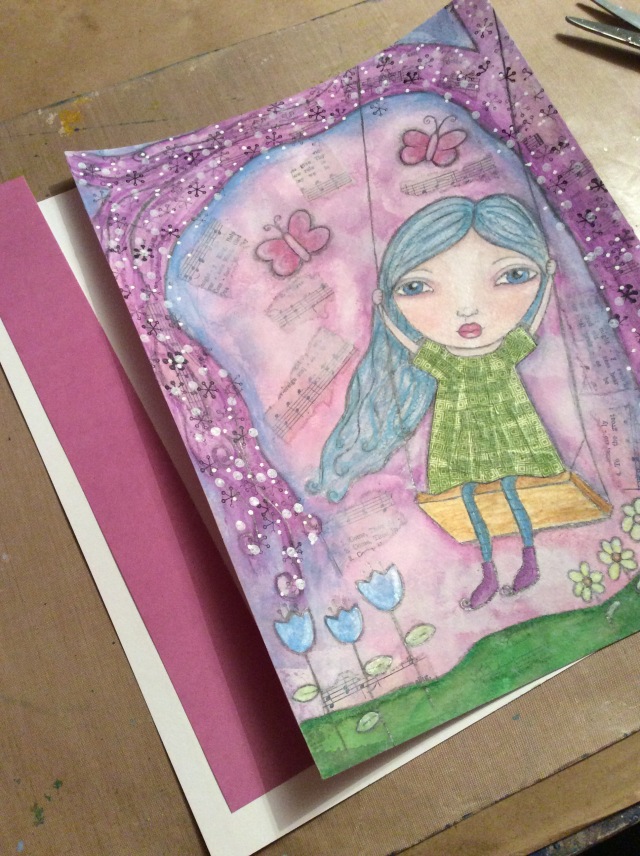
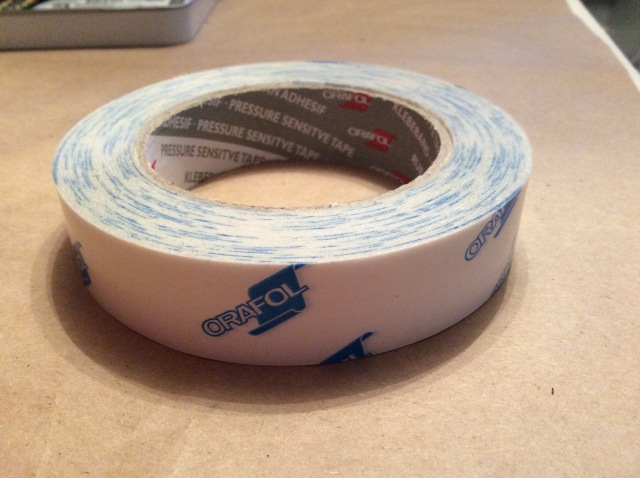
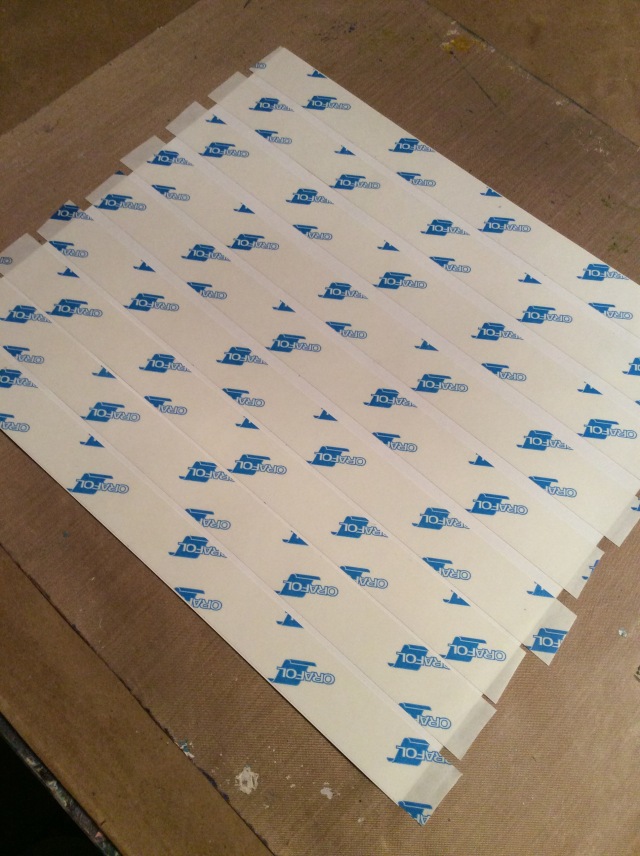
I bought some book board at an art store, I cut it to size with a razor blade and decorated the covers. My color for the year was pink so I decided that would be a good color to use. I also added some chipboard letters for a dimensional look. To make my pages sturdier I glued them to scrapbook paper. Actually, I began gluing them with gel medium, but that made my pages wrinkle a bit. Tamara said something about using a double sided tape if that happened, but my double sided craft tape doesn’t hold very well. ***Lightbulb*** I run a sign business! I have super strong double sided tape we use for finishing banners! I grabbed some and began taping. What a difference! The pages looked great with no wrinkles. The only issue is that you better place your pages right the first time because they are not coming back off again! Any wonkiness I had I just used my trimmer to square up.
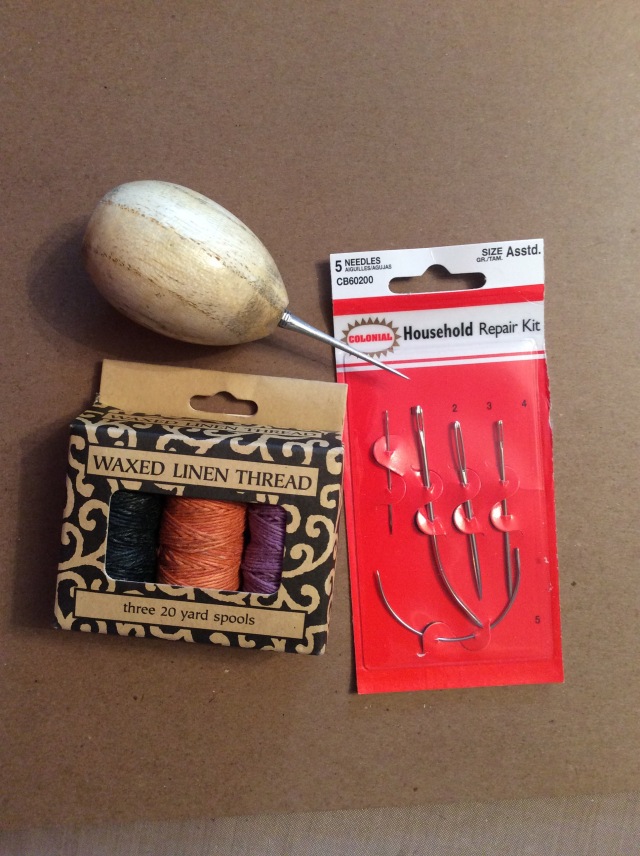
Now on to the stitching… I picked up the binding stuff I needed from the same art store I purchased the book board. Needles, waxed thread and an awl. I followed the video and used three holes at the bottom and three at the top. I made the holes using the awl. That took quite awhile. In the YouTube video she said something about estimating the thread by pulling it out the width for as many pages as you have. I wasn’t sure if she was talking about for each hole or what?!?? I took my tiny little spool of waxed thread and proceeded to pull out the width of about 40 pages. But after I got to 20 it seemed excessive. So I stopped there and counted to 20 again for each hole. But I ran out of thread when I finished counting for the third hole. Now what? Well, I really wanted to get started and I needed thread and needles for 6 holes. So I cut the 3 lengths of thread in half. Now I have enough! I thought, if I run out I can always tie more on once my order from Etsy gets here. And I was ready to go. I immediately realized that I needed 6 curved needles to do this process. The straight ones did not work well. It was hard to get the thread back out and around. So I messaged my sister and asked her to pick up some curved needles for me and bring them to the house since she was working with me the next day. Luckily, Joann’s had some packs of just curved needles (found the the upholstery section). Yay!
Once, I had the curved needles I was finally ready to go! I followed the instructions from the video. At first it was a bit awkward, but I eventually got into a rhythm. I do recommend using the waxed thread. I would have had such a knotted mess if not for the waxed thread. It took hours, but I finally completed my Life Book! And I had a bunch of thread left over for each hole. So maybe next time I will string out as many pages as I have and then cut the thread into equal sections depending on how many holes I have. Not sure if that will be right, but it’s all a learning experience so I guess I’ll just have to try it to see.
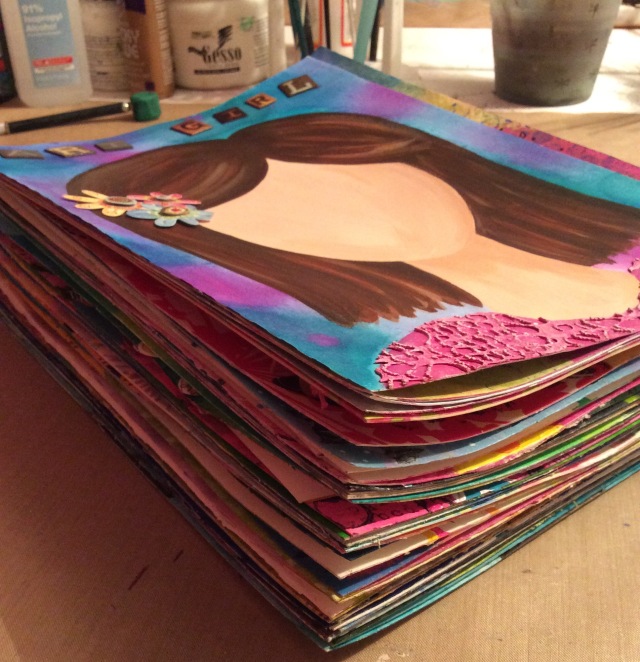
Here is my first Life Book! I made a flip through video of my 2014 Life Book, my very first movie with the help of iMovie and my iPad Mini. The very first face (well… it’s actually a faceless face) is not a Life Book lesson. Just something I did when I first started painting. I was too scared to actually paint the face back then. What a difference one lesson can make. I hope you enjoy the video!
I can’t believe I did all those pages! I had just started painting in October 2013 and Life Book started in January of 2014. But from the very first lesson I was making things that just blew me away. I’m not trying to toot my own horn. It’s just that I never thought I could paint. I thought it was a talent you were born with and I knew I didn’t have it. So when I was able to paint a face for the first lesson, I just couldn’t believe it. I spent a long time just admiring her. I felt such JOY (My word for the year. Very fitting, don’t you think?) with the realization that I really could paint. I wish I had known this sooner, I would have started painting a long time ago. But I’m here now and having so much fun.
I just started my lessons for Life Book 2015 and I can already see an improvement in my skills. I can’t wait to share my journey with you. I’m so excited to see what this year brings!
Til next time…

