So I attempted to make my first art journal page. I see these as messy, fun, lots of layers but my page didn’t turn out that way. My perfectionism has reared it’s ugly head again. I’m having a hard time letting go. When I want to create a random pattern in any form, I plan out its randomness. How crazy is that??? I think maybe I’m having such a tough time with this because I don’t want to make something ugly and have people say, “See! She’s not an artist!” But what do I care? Who makes them the expert to judge me? I’m having fun and that’s all that matters. Right?
So on to the project…
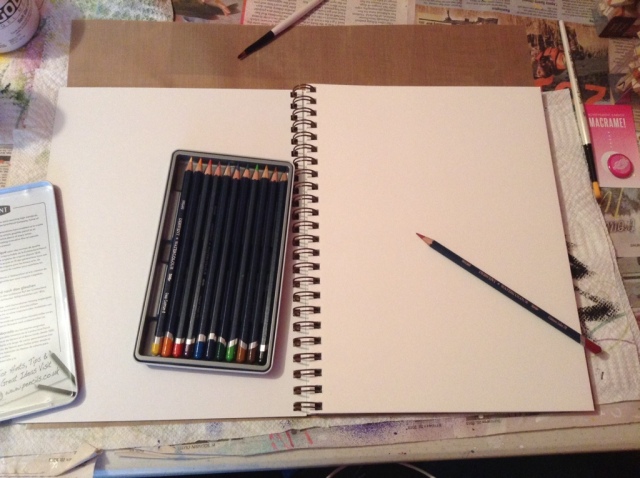
Here is my blank journal page and my watercolor pencils.
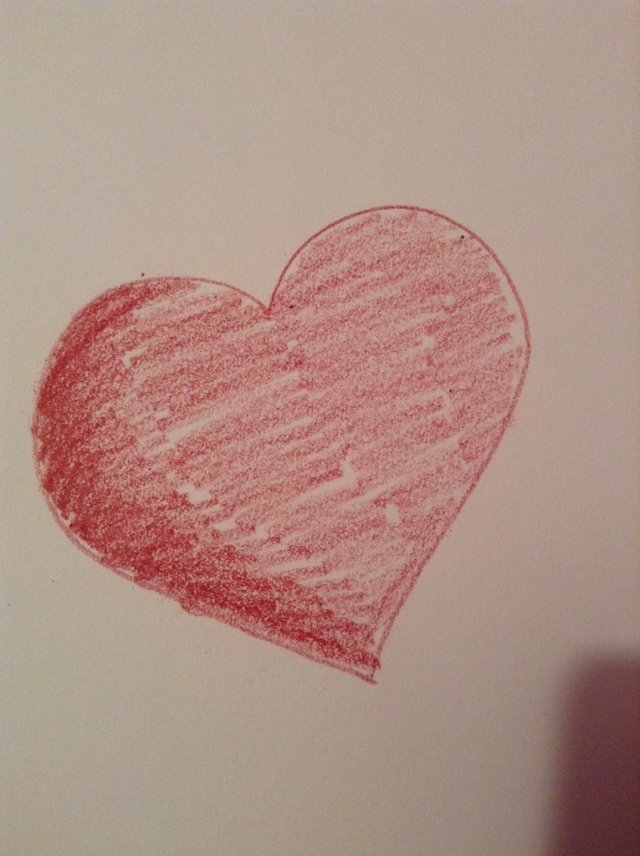
I drew a heart and shaded it darker on one side.
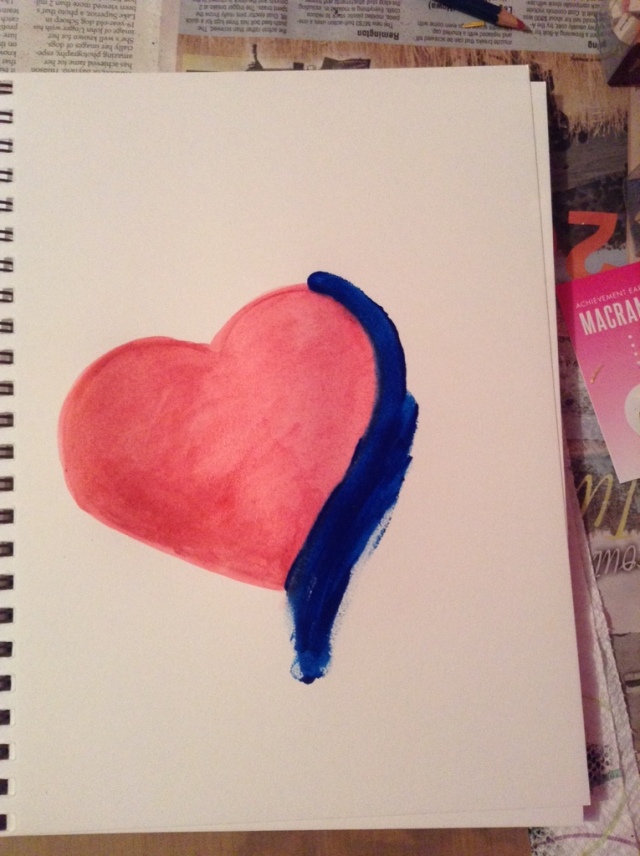
I wanted the heart to pop from the background so I started to add this deep blue around it with my finger. Why not? Painting with your fingers is fun and messy!
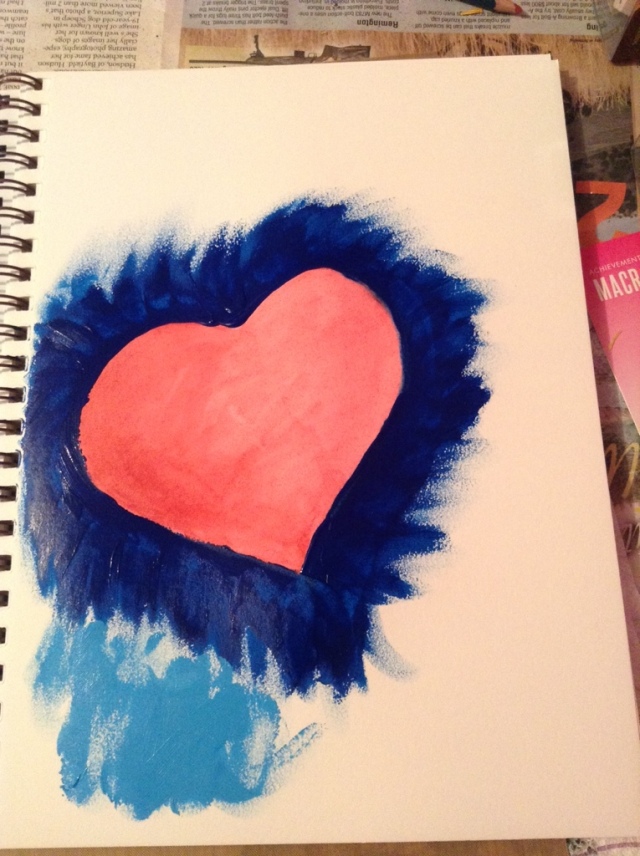
I went around the entire heart with the deep blue and now I’m adding a lighter shade around the outside. I just used the same blue and added some white to it.
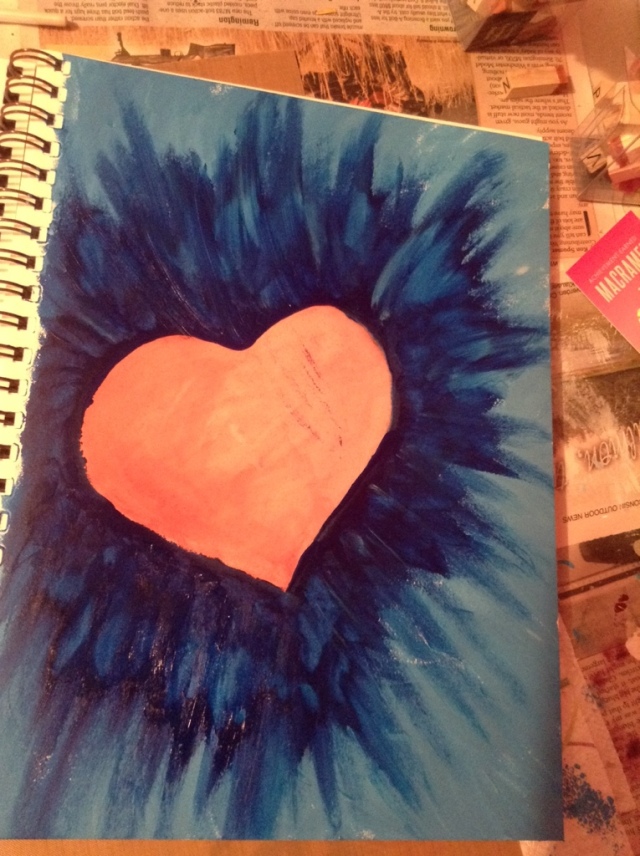
I added all the lighter blue around the outside. Then I added more of the deep blue close to the heart so I could pull it out over the lighter blue. I wasn’t getting the look I wanted with my finger so I switched to a baby wipe. As I was pulling the paint I didn’t realize that the back of the baby wipe was dragging across the heart. Opps!
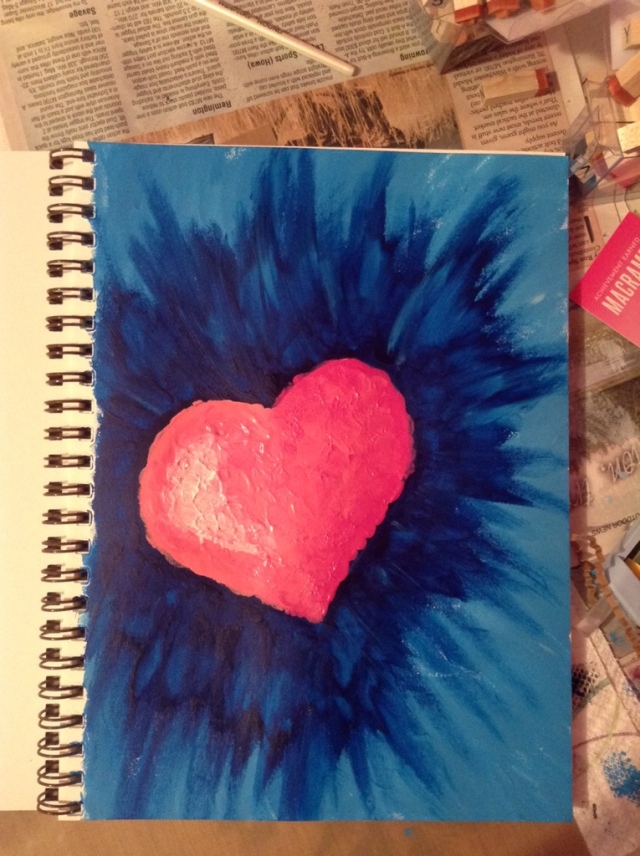
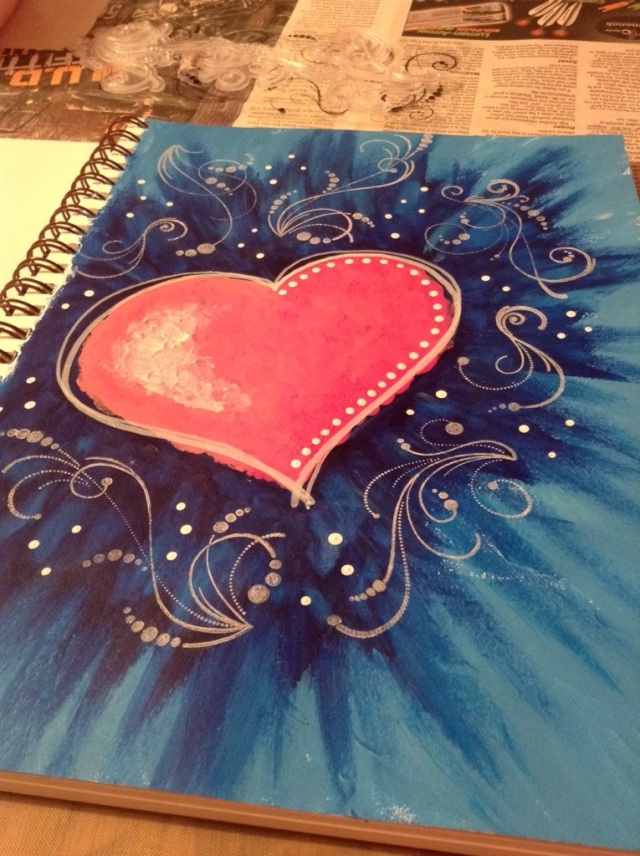
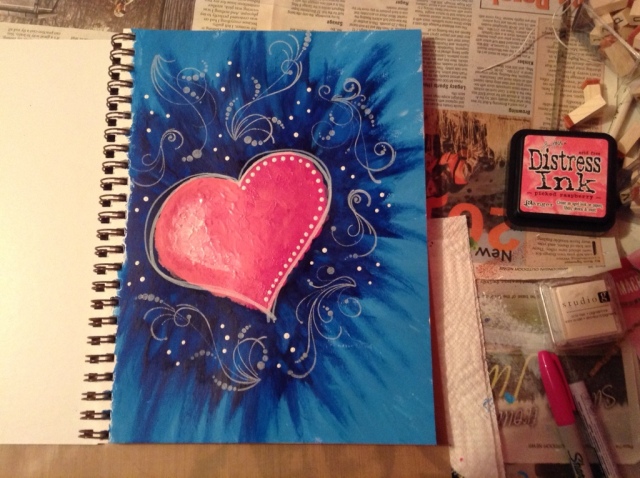
The heart was looking kind of weak against that intense background so I decided to go over it with some acrylic paints. I dabbed with my finger and created this peaked texture. I used two different shades of pink, a mixture of the two and some white. I’m pretty happy with the look of this.

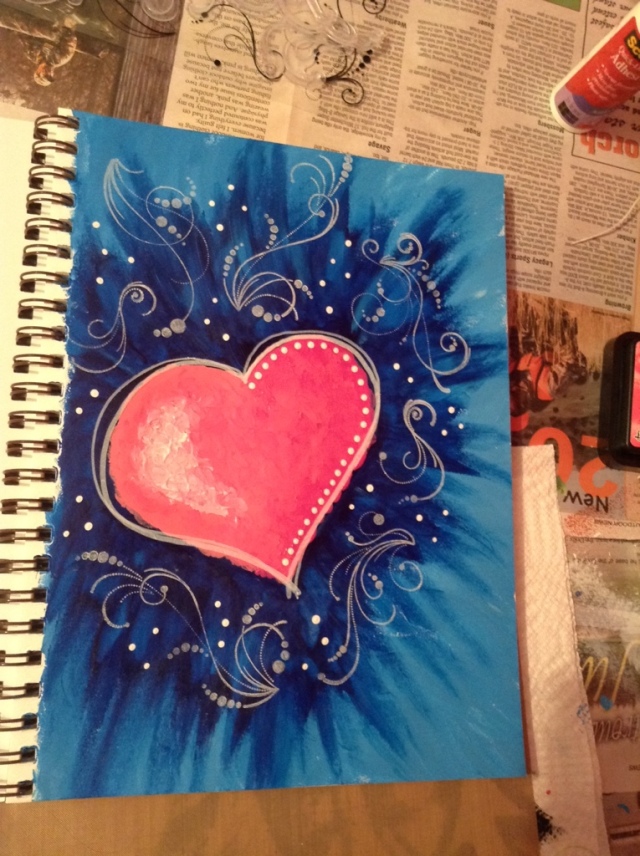
I used a fat nib Pitt pen and a medium nib paint pen to create the outlines around the heart.

I used some pretty scrolly stamps to create this effect. I did run into a problem though. The spiral kept getting in the way when I was trying to stamp. I think next time I’ll buy a bound book or I’ve been toying with the idea of making my own. We’ll see.
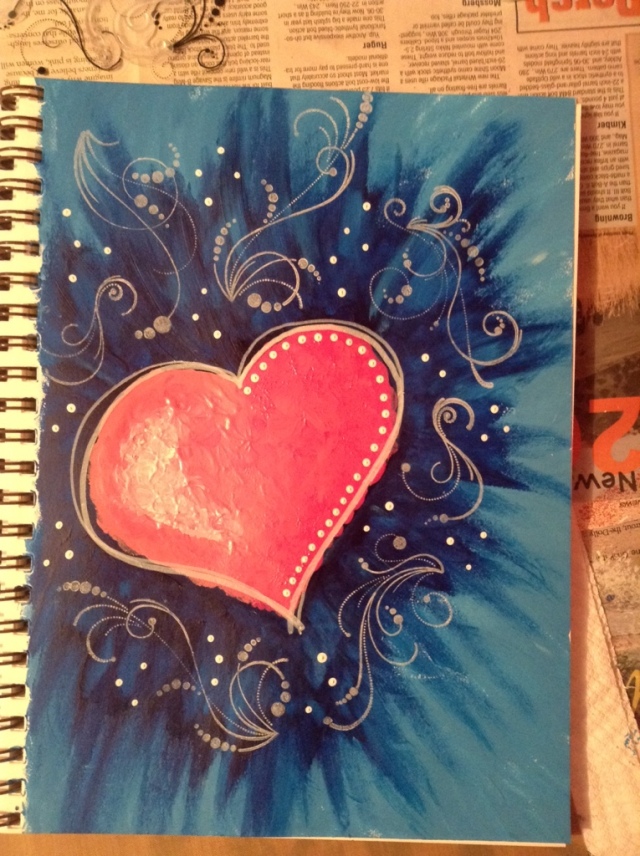
I added some paint dots inside the heart and randomly (as best as I can do random) around the outside. I just used the back of my paint brush.
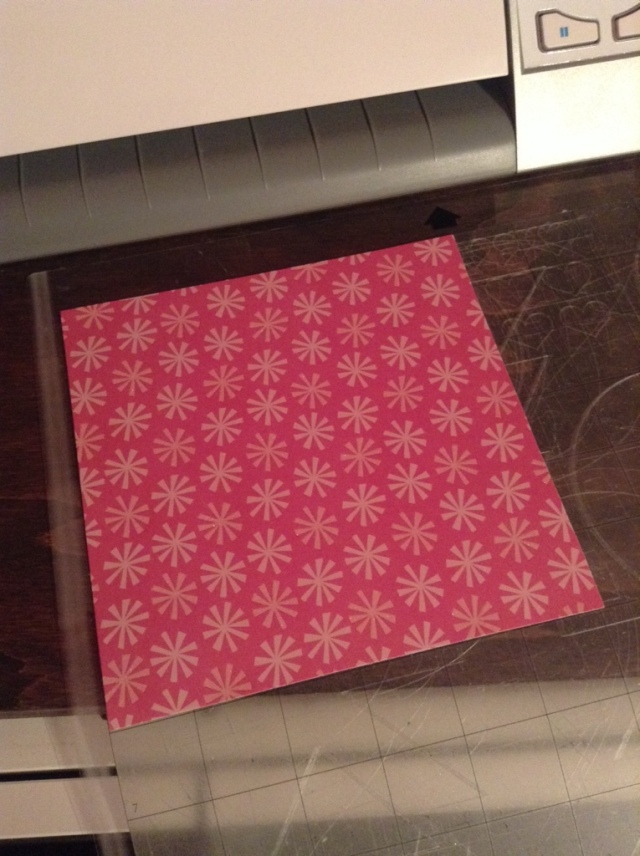
I had planned from the beginning that the page would say something. So I thought I’d add, Love makes the world go round. I wanted to put an emphasis on the word Love so I decided to cut it out from some scrapbook paper and my Silhouette Cameo machine.

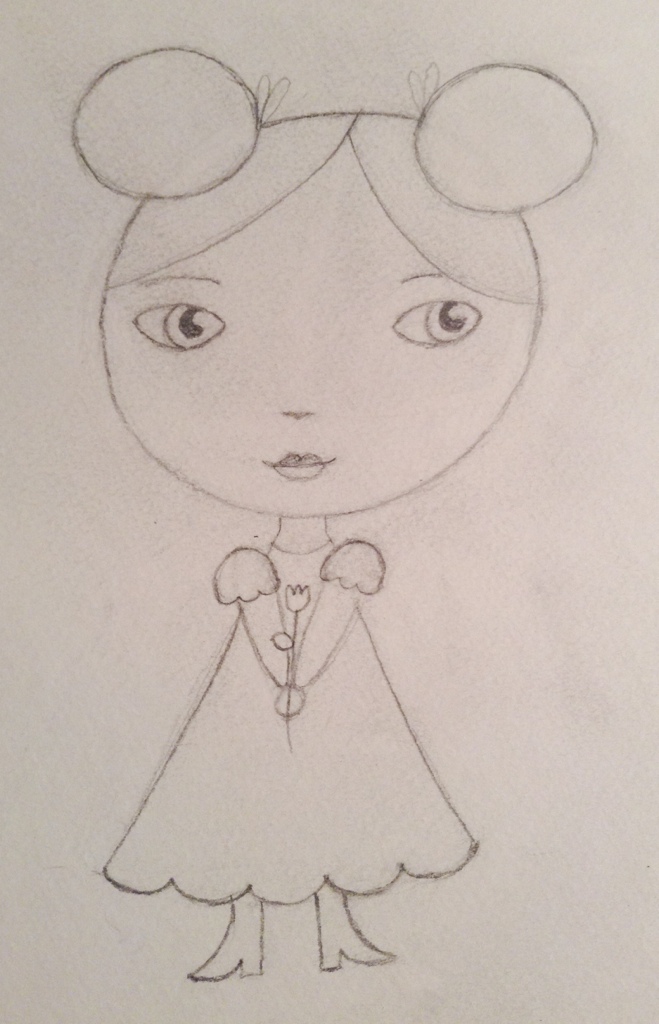
Here is a graphic I found in my files.
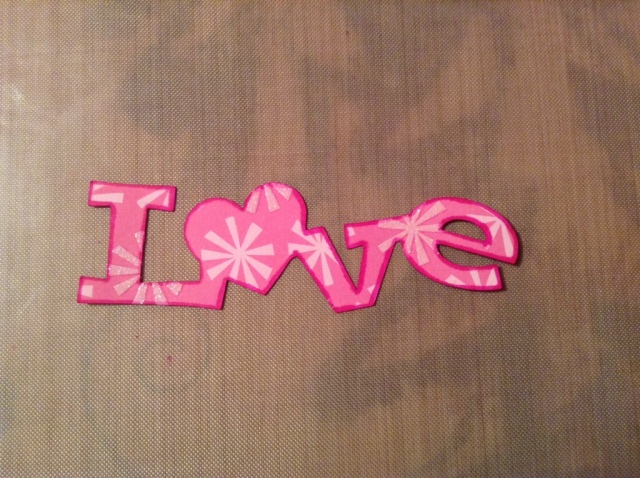
Love all cut out. I added some deeper pink around the edges with a marker, but it bled into the paper quite a bit. I decided just to go with it. Not the effect I was going for, but it’s not too bad.
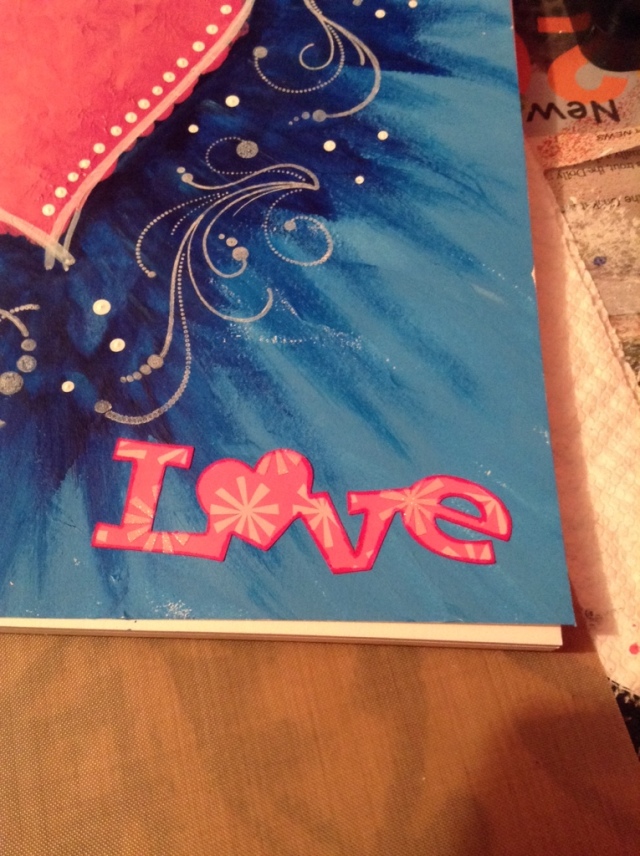
Not too much room down here. I’m not sure I like the word on there at all.
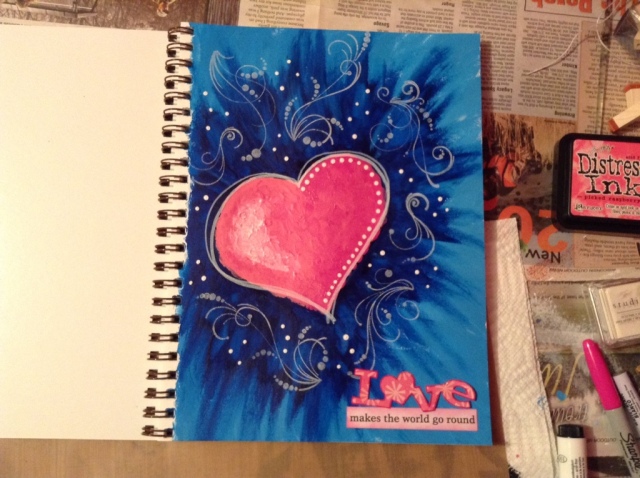
Here is the rest of the phrase. I printed it out on some cardstock and added pink distress ink with a blending tool.
Maybe it’s better without the phrase? I really can’t decide. My husband came home and thought my page was beautiful. He suggested that we scan it in and use it for a gallery wrap. You know, those wall hangings that look like a painted canvas (no frame), but are really printed. They are a great way to have beautiful art on your wall without having to pay for an original art piece.
If I decide to go that route I would want to leave the words off so I could add in a saying digitally. I really don’t know what to do. I’m actually all little surprised that he thought it was good enough to sell as a gallery wrapped canvas art piece.
So I guess I’m going to leave it for now and decide later. I hope you guys enjoyed the process!
Until next time…
43.726345
-88.751878